Taco Soup
1lb ground beef1 can red kidney beans
1 can white corn1 can chopped tomatoes
1 can pinto beans
1 envelope taco seasoning
1 envelope ranch dressing mix
Step 2: Add all canned ingredients with juices and envelopes of seasonings
Kitchen Play by Play: There is no kitchen play by play because there was only one play: open cans and cook meat. It was seriously the simplest thing I have ever done in the kitchen. It was even easier than the french dip recipe because I didn't need to cut any fat off of meat. I did leave out the pinto beans because I couldn't find them. To be honest, I only looked at Super Target. I used 93% lean meat and cooked the soup for about three and a half hours. I topped the soup with cheese and served cheese quesadillas on the side. Next time I'll top the soup with sour cream and tortilla strips to really make it more like a taco.
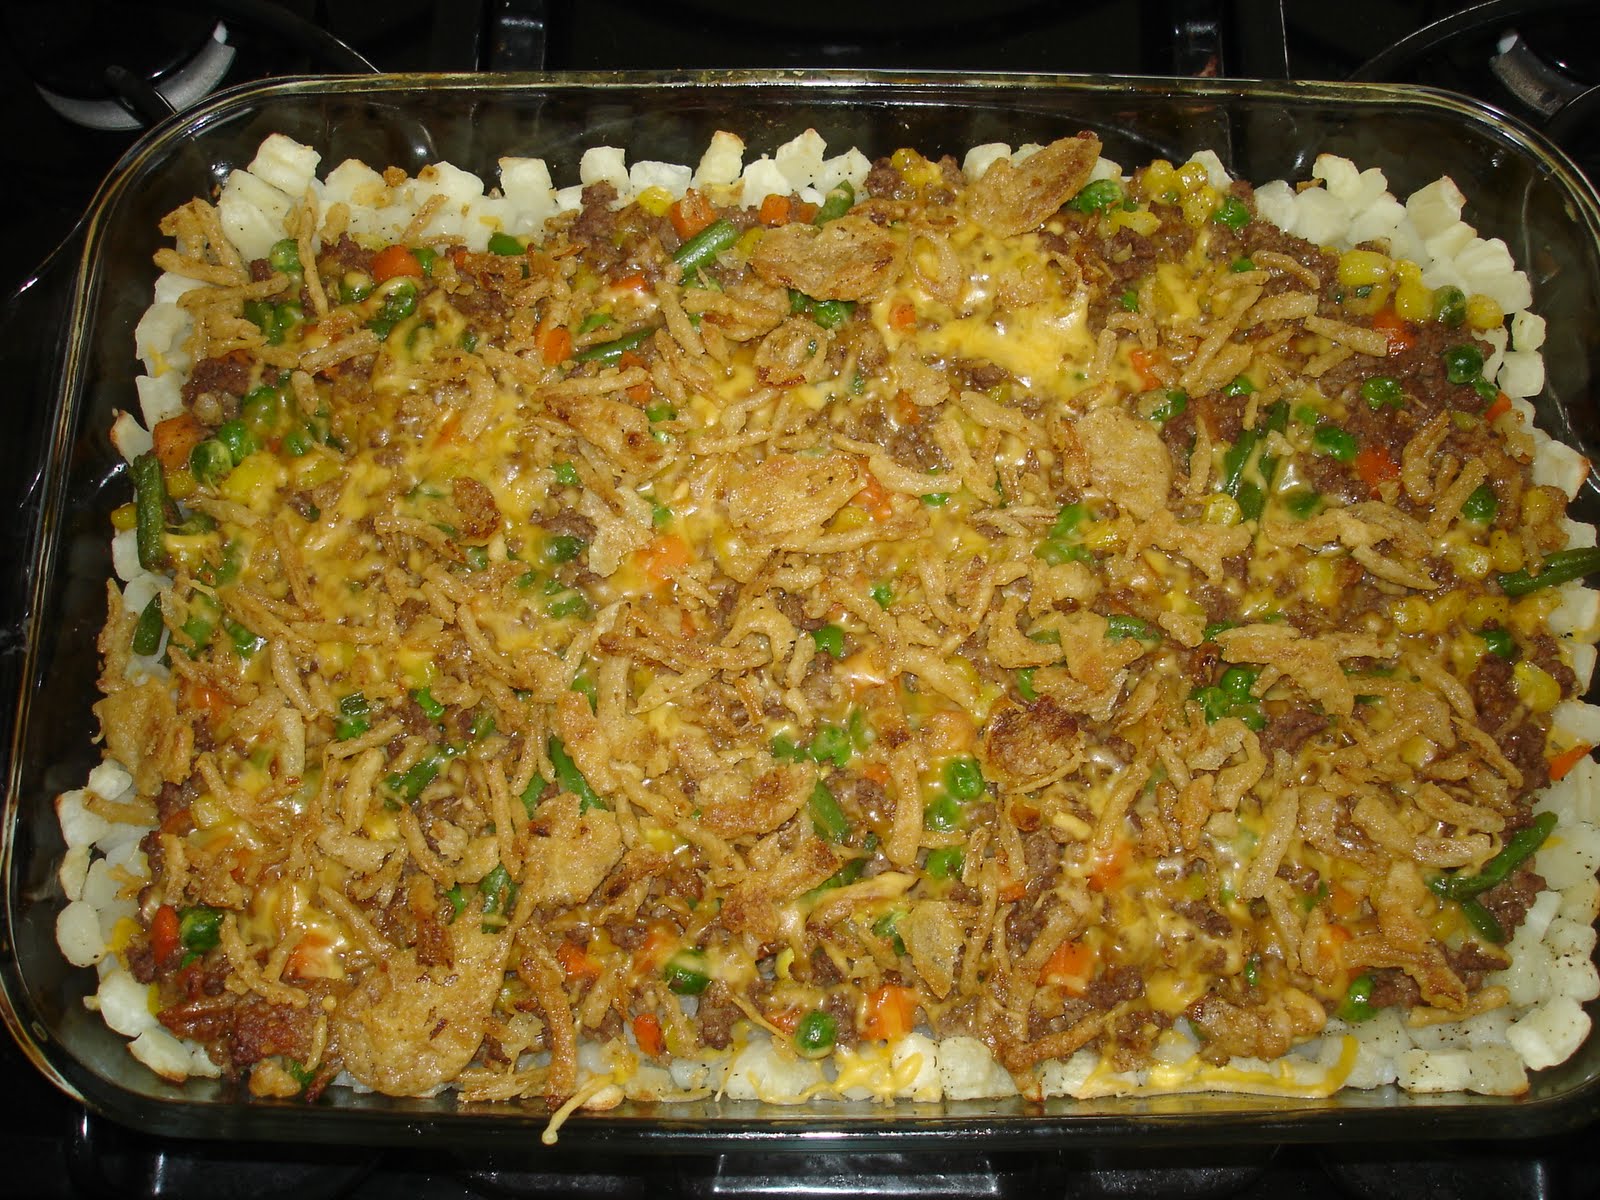
The Finished Product
The Verdict:
Nicole- I would call it more of a chili than a soup. It had very little liquid and adding water would take away the flavor. Truthfully, having it soupier would probably have grossed me out. I don't like the idea of ground beef floating around my bowl. I thought the taste was awesome and really enjoyed the crunch of the corn. I think I like this better than tacos. I did not have to chop and wash lettuce, tomatoes or olives; I did not have to put out dishes with sour cream, cheese, salsa; and I didn't have to turn on the oven to heat up shells(half of which are usually broken)*. I just threw it all in a crock pot and forgot about it for three hours and still felt like I was having tacos for dinner when it was all said and done. I give it a 4.
Paul-gives it a 4. "good, but not a replacement for tacos. Good flavor, but missed the fresh toppings. More like taco chili."
Austin-ate his whole bowl. He LOVES kidney beans, so I knew he'd like this dish better than others. He even said, "mmmm...tasty."
* I laughed out loud when Paul commented about missing the fresh ingredients. He did not know what I had already written about the fresh ingredient prep. Maybe he should take over the chopping of all the toppings next time we have tacos. :)
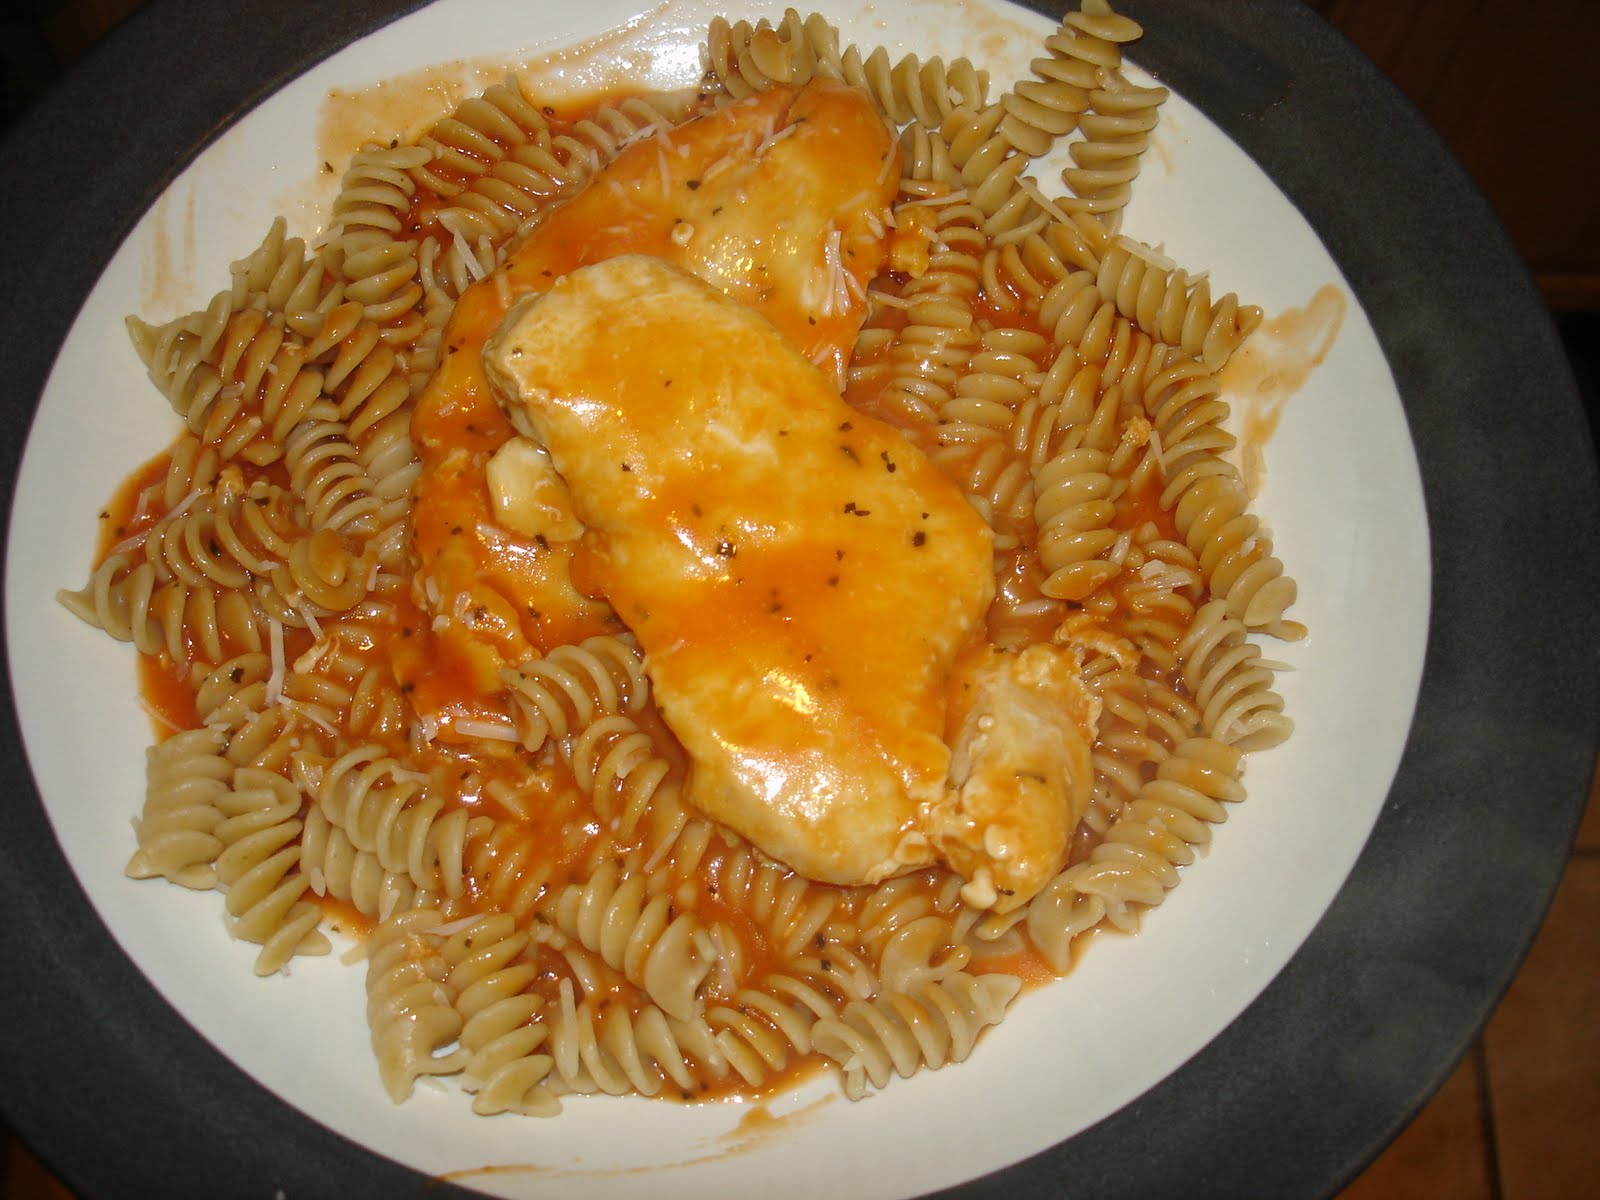
The Finished Product

The Verdict:
Nicole- I would call it more of a chili than a soup. It had very little liquid and adding water would take away the flavor. Truthfully, having it soupier would probably have grossed me out. I don't like the idea of ground beef floating around my bowl. I thought the taste was awesome and really enjoyed the crunch of the corn. I think I like this better than tacos. I did not have to chop and wash lettuce, tomatoes or olives; I did not have to put out dishes with sour cream, cheese, salsa; and I didn't have to turn on the oven to heat up shells(half of which are usually broken)*. I just threw it all in a crock pot and forgot about it for three hours and still felt like I was having tacos for dinner when it was all said and done. I give it a 4.
Paul-gives it a 4. "good, but not a replacement for tacos. Good flavor, but missed the fresh toppings. More like taco chili."
Austin-ate his whole bowl. He LOVES kidney beans, so I knew he'd like this dish better than others. He even said, "mmmm...tasty."
* I laughed out loud when Paul commented about missing the fresh ingredients. He did not know what I had already written about the fresh ingredient prep. Maybe he should take over the chopping of all the toppings next time we have tacos. :)


 Austin's Omelet Creation(Spinach, pork, tomato, cheese)
 The omelet buffet